


DIY HEPA H13 Air Purifier — Instructions and Build Options
A HEPA H13 air purifier filters 99.97% of particles 0.3 microns and larger — dust, pollen, mold spores, and some viruses. Commercial units cost $60–300. A DIY version with the same filtration specs costs $10–35 and takes 1–3 hours to build. This guide covers three build options: from the ultra-simple box-fan design to a two-stage carbon pre-filter system.
What is HEPA H13 and Do You Need It
HEPA (High Efficiency Particulate Air) is a filtration standard. Class H13 captures at least 99.95% of airborne particles in a single pass. H14 captures 99.995%. For home use, H13 is more than sufficient.
A DIY air purifier makes the most sense in these situations:
- Allergies to dust, pollen, or pet dander
- Home renovation — drywall dust, concrete, wood particles
- Wildfire smoke or heavy urban pollution
- Mold risk from humidity or water damage
The key metric is CADR (Clean Air Delivery Rate, m³/hr or CFM). For a 200 sq ft room with 8 ft ceilings, you need at least 100–130 m³/hr (60–80 CFM).
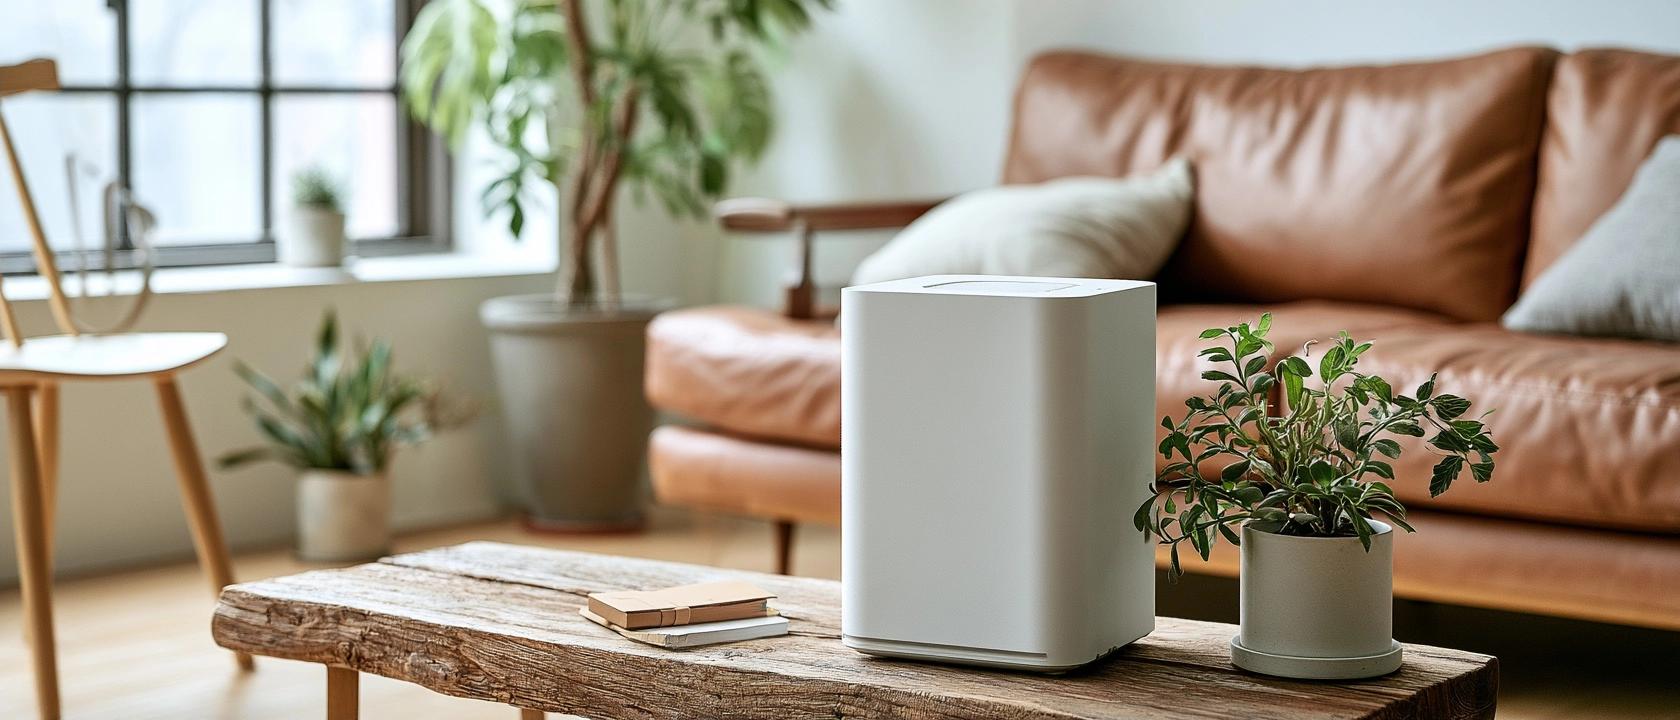
Option 1: The Simplest Build — Box Fan + HEPA Panel
Cost: $10–18 / Build time: 30 minutes / Skill level: beginner
This design was popularized by Dr. Richard Corsi — the "Corsi-Rosenthal Box." A box fan pulls air through a HEPA panel attached to its intake side.
Parts list
- Box fan or axial fan 8–10 inch — $8–15
- HEPA H13 filter panel sized to match the fan — $5–12
- Aluminum HVAC tape or duct tape — $3
Assembly
- Hold the HEPA panel against the intake side of the fan. Trace and trim if needed.
- Press the filter against the fan intake and seal all edges with tape — no gaps, or air will bypass the filter.
- Run the fan on high. Air should pull through the filter, exit the back of the fan clean.
Expected CADR with an 8-inch fan: 80–120 m³/hr. Good for a room up to 160 sq ft.
Option 2: Plywood Box Purifier
Cost: $20–35 / Build time: 3–4 hours / Skill level: intermediate
A wooden enclosure solves the aesthetics and noise issues: the fan is recessed into a plywood box, walls dampen vibration, and the unit looks like a purchased appliance.
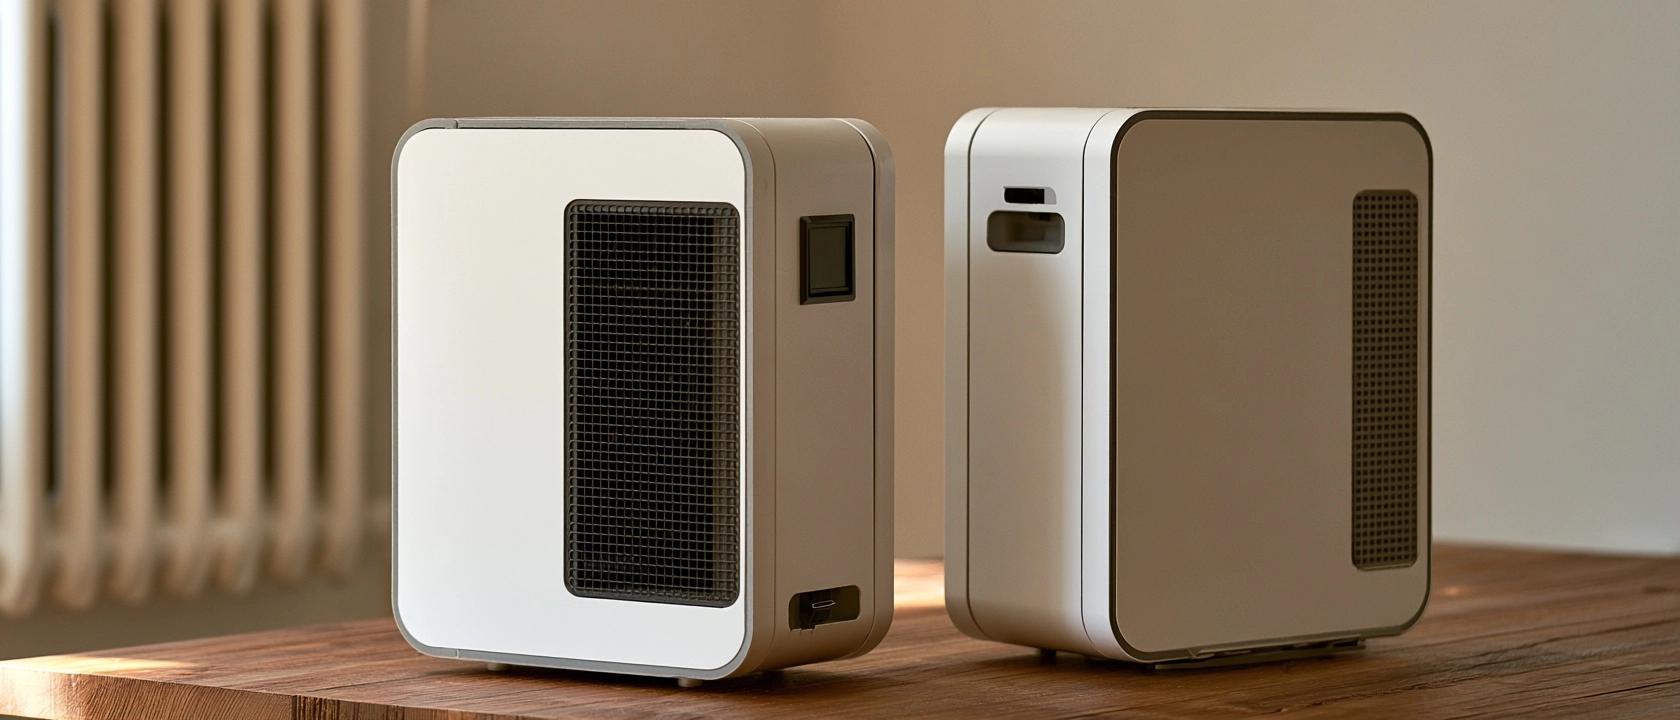
Materials and tools
- Plywood 10mm or MDF 8mm, approx 2×2 ft sheet
- Centrifugal or axial fan 120–150mm (computer case fan works great) — $5–15
- HEPA H13 panel 200×200 or 250×250mm — $6–12
- Corner brackets ×10, wood screws 3×16mm
- Jigsaw, drill, screwdriver, tape measure
Step-by-step assembly
- Cut the box panels. For a 250×250mm filter: box dimensions 280×280×120mm. Cut 4 side panels 280×120, one top 280×280, one bottom 280×280.
- Cut the fan hole in the top panel using a hole saw or jigsaw.
- Drill intake holes in the bottom — 4×4 grid of 15mm holes for airflow.
- Assemble the box with screws and brackets. Glue joints with PVA for an airtight seal.
- Place the HEPA panel inside on the bottom. Secure with small wood strips.
- Mount the fan in the top, screwed flush. Check airflow direction — fan should pull air up through the box.
- Test for leaks — hold a lit stick of incense near the seams while the fan runs. Smoke should only enter through the bottom grid.
Expected CADR: 150–200 m³/hr. Sufficient for a room up to 300 sq ft.
Option 3: Two-Stage Carbon + HEPA System
Cost: $28–50 / Build time: 4–6 hours / Skill level: confident maker
Adding an activated carbon pre-filter absorbs odors, VOCs (volatile organic compounds), and formaldehyde. Essential if you have new laminate flooring, plywood furniture, or cigarette smoke.
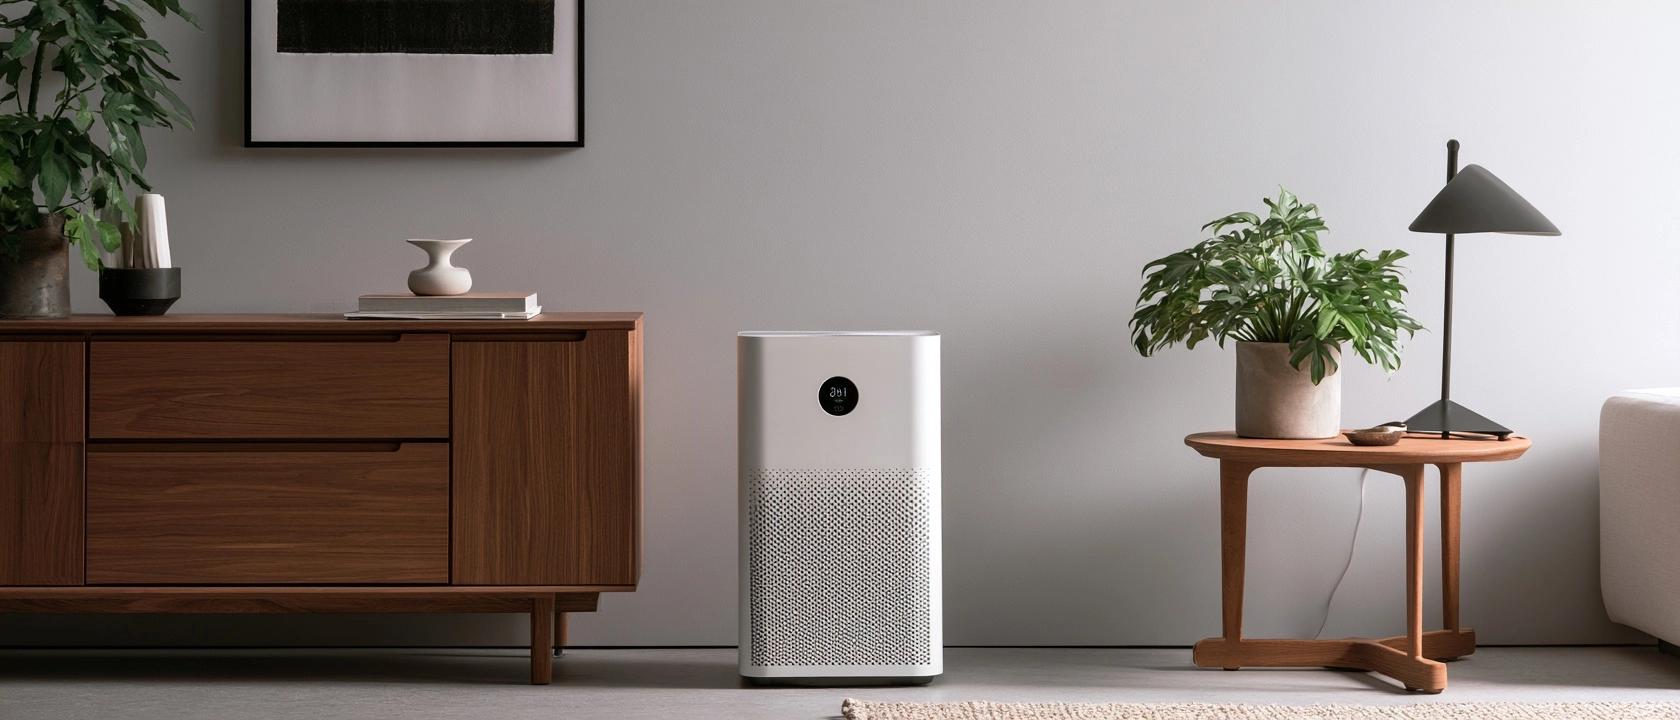
Airflow sequence
Air → carbon pre-filter G4 (traps large dust and absorbs odors) → HEPA H13 (captures fine particles) → fan → clean air out.
Additional parts
- Carbon filter sheet G4 or carbon-impregnated foam 250×250mm — $4–8
- Same box from Option 2, plus an extra 35mm-tall section for the carbon layer
Installing the carbon layer
- Cut the carbon material to box dimensions — 250×250mm.
- Place it on top of the HEPA panel, carbon side toward HEPA, fabric face toward incoming air.
- Secure with wood strips to prevent shifting.
Carbon layer: replace every 2–3 months. HEPA filter: every 6–12 months depending on air quality.
How to Choose the Right Fan
| Fan type | Size | CADR (approx) | Noise | Cost |
|---|---|---|---|---|
| PC case fan (axial) | 120mm | 60–90 m³/hr | 20–28 dB | $4–10 |
| Large axial / box fan | 200mm | 100–150 m³/hr | 30–38 dB | $6–14 |
| Centrifugal (blower) | 120mm | 90–140 m³/hr | 25–32 dB | $10–20 |
Centrifugal (blower-style) fans create higher static pressure — better suited for pushing air through the dense HEPA media. PC case fans in 200mm size are the most affordable entry point.
Common Mistakes to Avoid
- Gaps between filter and frame — air bypasses the filter entirely. Seal with aluminum tape, no exceptions.
- Wrong airflow direction — some fans blow the wrong way. Always check before installing.
- Underpowered fan — HEPA media has high resistance. A weak fan won't push enough air through.
- Unverified "HEPA" filter — cheap filters labeled "HEPA-style" may not meet H13 specs. Check the classification on the packaging.